This topic requires that a Noise compass is set up both on the instrument and in NorCloud. We highly recommend reading the manual for the Nor1297 Noise compass before setting it up in NorCloud.
When the Noise compass is properly set up, click on the Noise compass icon in the left menu. Then you will get this page:

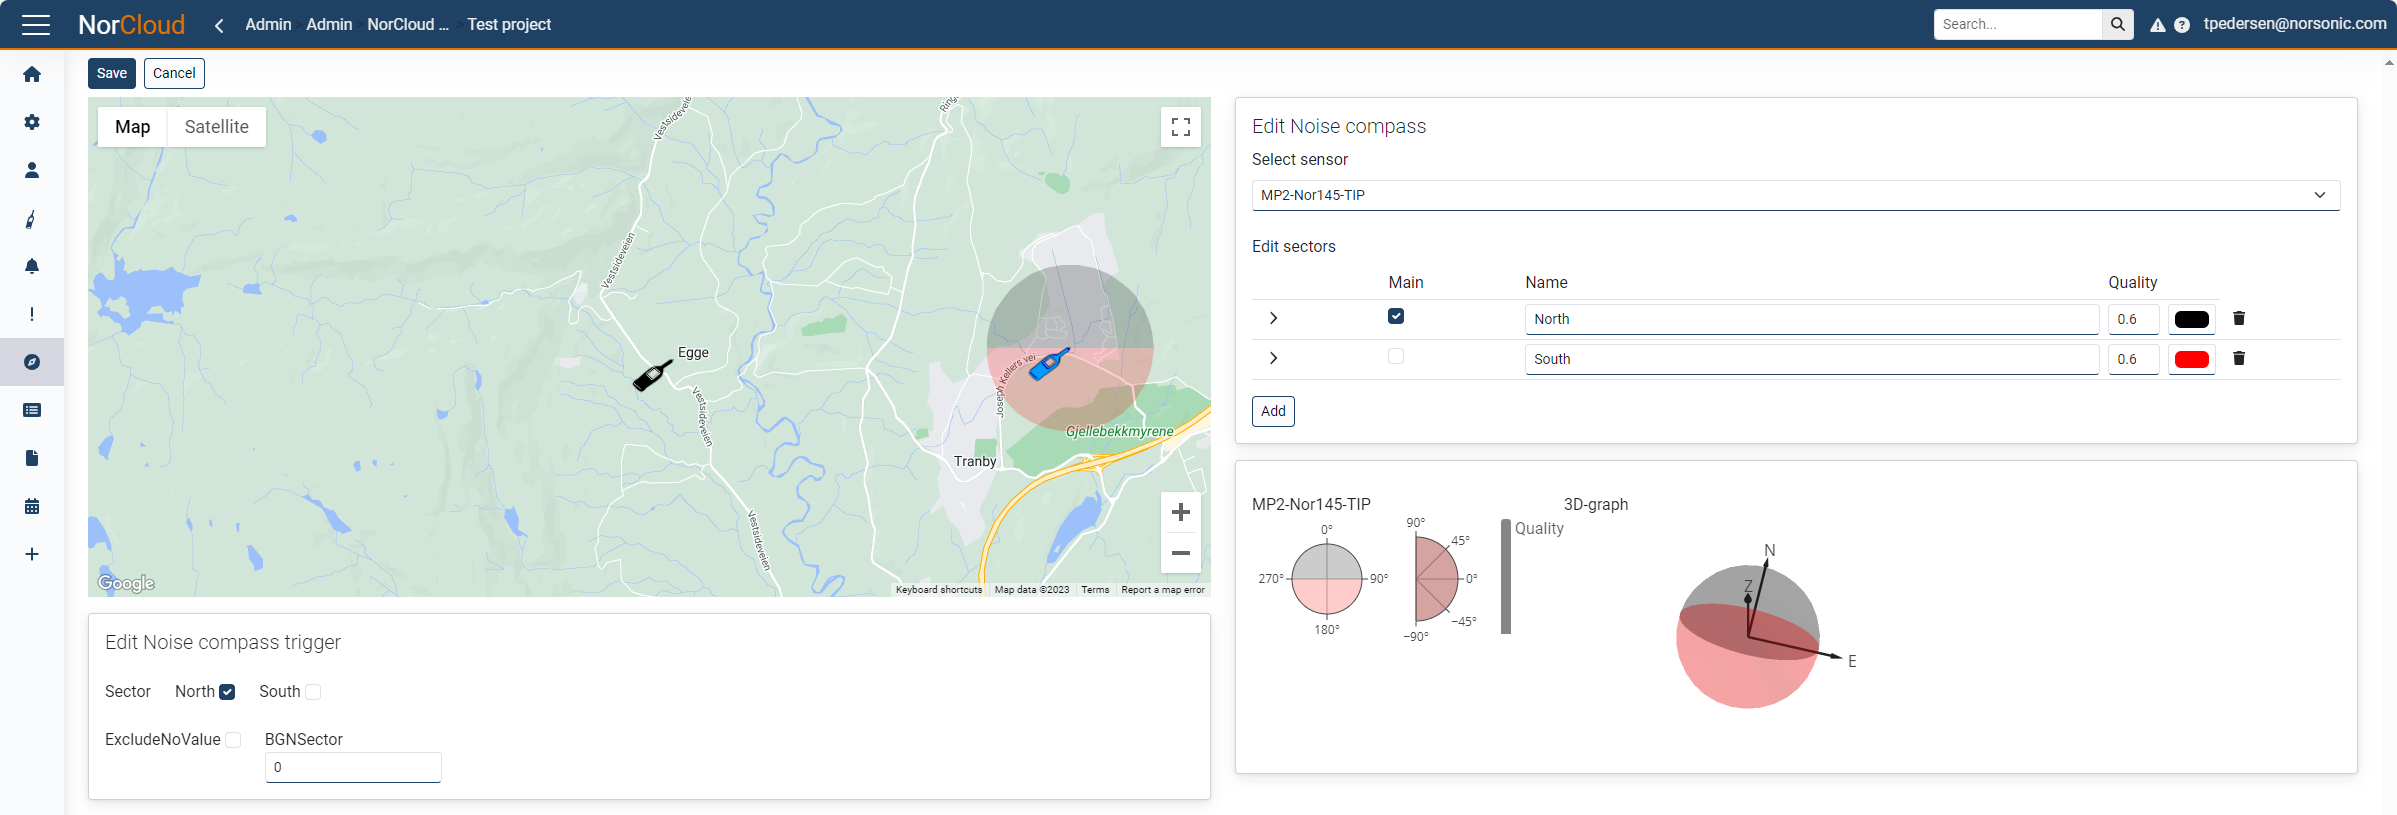
Here is a map view showing the location of the instrument. To change the map position and instrument placement, go to Edit project and do it from there.
Edit Noise compass
On the right side of the window, you can edit settings for the Noise compass.
•First select the correct sensor to add or edit the sectors for.
•Then click the Add sectors button to add a sector.
•Here you can choose a name for the sector, toggle if it is the main sector, choose the quality indicator and select the color.
•To change the angles defining the sector angles, open the sector with the button. Here you can define the vertical and horizontal angles for the sector. Please use a number between 0 and 359 degrees. An example of North and South sectors are given in the picture above.
•At the bottom is given an overview of the settings for this sensor.
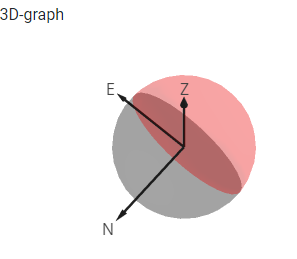
•Under 3D-graph you can click and drag to view the sector settings in 3D:

•Click on Save when you are finished to save the noise compass settings.
•Setting up Noise compass triggers
See the Noise compass trigger page for info on setting this up.
To view Noise compass data
1.Open the Graph view, e.g., by clicking Save or Cancel from the Noise compass settings.
2.Click with your mouse on the sensor icon (the one with the noise compass connected)
3.Select "Noise Compass" in the mini menu that appears.
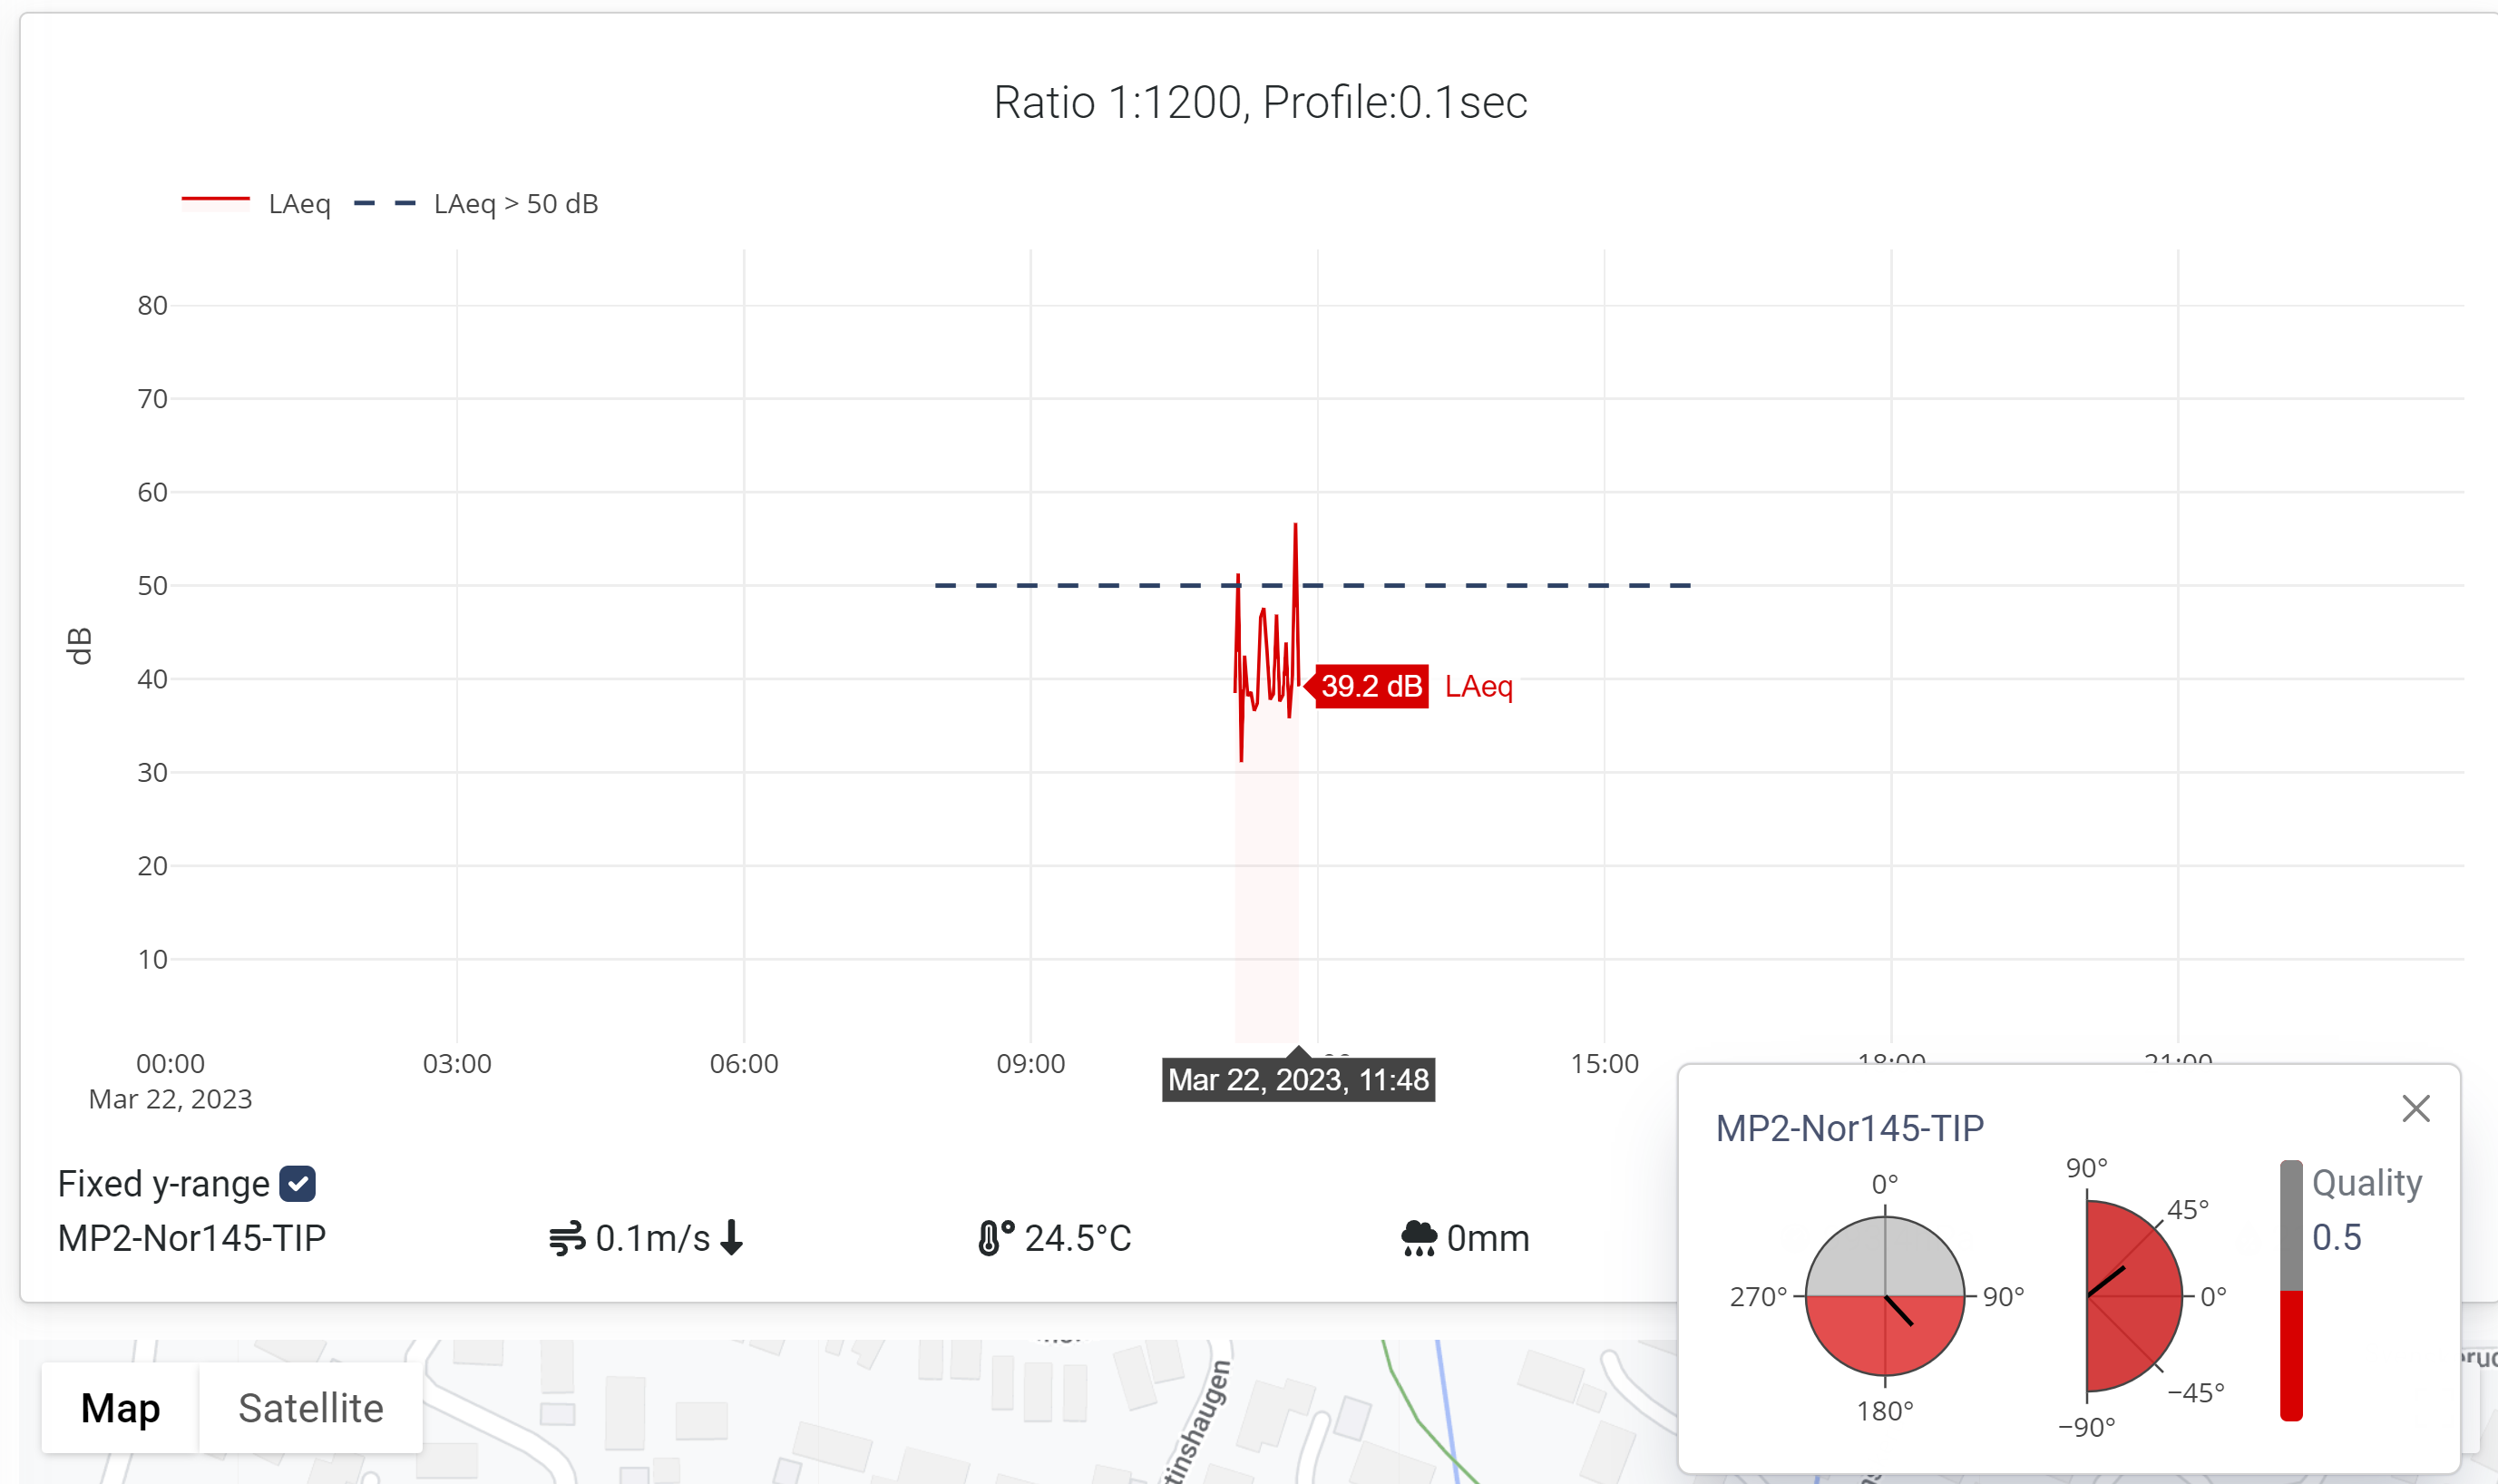
4.The compass output is shown as horisontal and vertical angle and a quality indicator (works only on historical data, not while viewing live data).
5.Hover the mouse cursor over the measurement graph to view the values and direction for the noise compass.
