It is possible to setup the instrument to take pictures whenever an event trigger condition occurs and send the picture to NorCloud as part of a generated event.
Requirements and limitations
•The current supported IP camera is of type Axis.
•Only external IP camera can be used for pictures to be sent to NorCloud. The internal camera of the Nor150 is not supported.
•Video is not supported at the moment, only pictures.
•The instruments requires network access to the camera. It is recommended that the camera has a fixed IP address.
•Please beware that there will be a small delay from the event occurs to the picture is taken.
Setting up an IP Camera on the instrument
•Ensure that the IP Camera is up and running with an accessible IP address.
•On the instrument, go to Setup -> Measurement -> Camera.
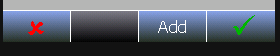
•In the camera selection, click on the add button at the bottom:
•Fill in the appropriate IP Address, username and password.
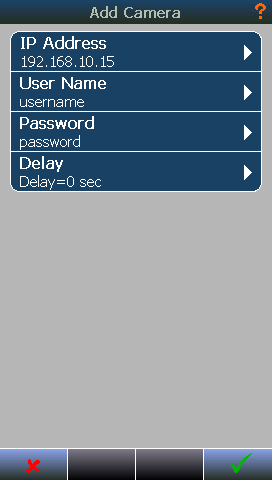
•Choose a delay if applicable.
•After confirming with the ![]() button, you will get the newly added camera in your overview:
button, you will get the newly added camera in your overview:
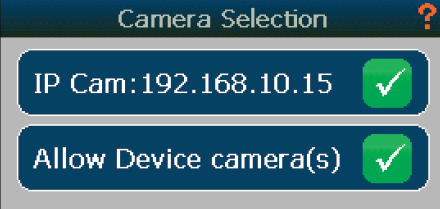
•Ensure that both the added camera and Allow Device camera(s) is checked ![]() .
.
•Confirm with ![]() .
.
Enabling camera in NorCloud
•Go to event trigger setup, select the event trigger you want pictures taken for and check the picture button as an Action.